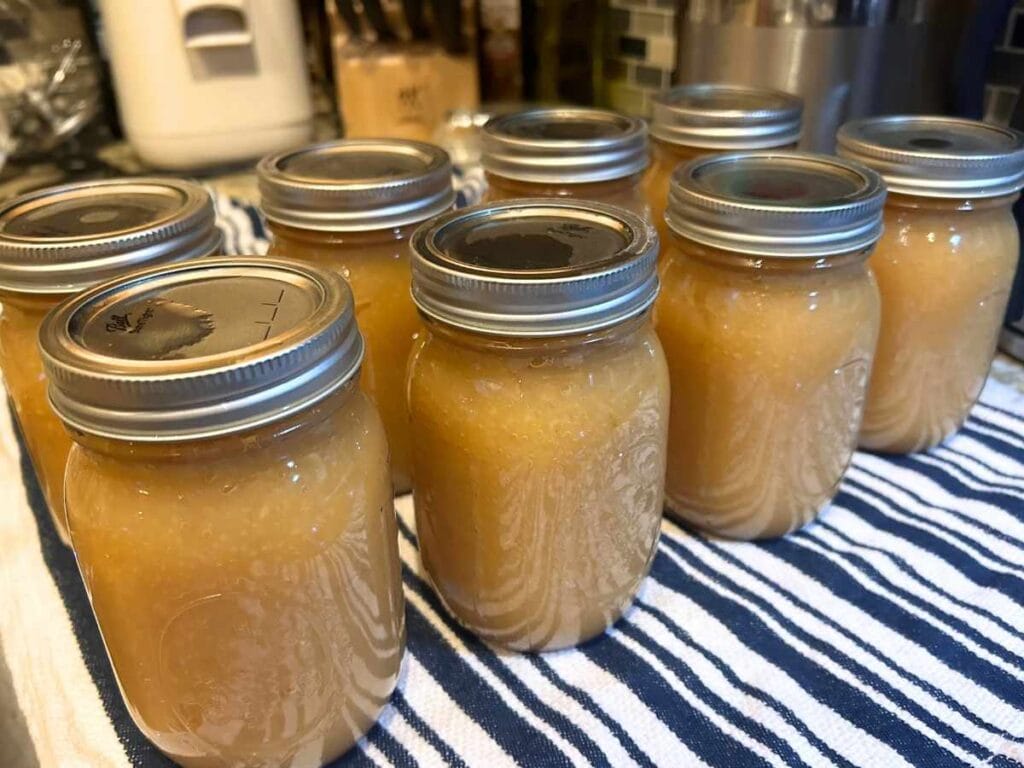
Easy Instant Pot Applesauce and Canning Recipe
There’s nothing quite like the taste of a simple and delicious homemade applesauce, made with love and the freshest fruit of apple season. Let me show you how to make the best Instant Pot applesauce. This super simple recipe is so easy and perfect for fall, or any time of the year!
Every fall, I find myself staring at pounds of apples and wondering what on earth to do with all of them, but I always come back to this recipe. It’s the perfect way to use up an abundance of apples, and I know the entire family will eat it.
Follow along, and I’ll guide you through the whole process of this homemade applesauce recipe.
Want more ideas for using up apples? Try making Homemade Apple Pie Filling, Homemade Apple Cider, Instant Pot Apple Butter, or Apple Scrap Vinegar.
Bake with apples in recipes like Apple Pie Oat Bars, Apple Pie Coffee Cake, Sourdough Apple Pie Cupcakes, Sourdough Apple Pie Cobbler, or Apple Cider Mini Muffins.
This post contains affiliate links. As an Amazon associate or other affiliate, I earn from qualifying purchases. We try to recommend products we personally use or have used and trust. If you choose to purchase through our links in this post, we may receive a commission, at no extra cost to you. Read the full disclosure here.
Why You’ll Love This Homemade Instant Pot Applesauce
There are no preservatives like store-bought applesauce, you can customize with your favorite variety of apples, and you have the ability to control ingredients like sugar and spices. Plus, it’s canning-friendly, so you can enjoy fall vibes all year.
This recipe is faster than traditional cooking down because the Instant Pot does the heavy lifting. Pressure-cooked apples are really tender, don’t need much supervision or time. Applesauce is a great way to use up any slightly imperfect apples or the peels and cores from making Apple Pie Filling.
Choosing the Best Apples for Applesauce
I like to use a mix of apples, such as McIntosh, Honeycrisp, Fuji, or a mix of all of them for more complex flavors. Using sweeter apples, such as Fuji or Gala apples, can reduce the need for added sugar, while Granny Smith apples offer a sharper, tart flavor.
Easy Instant Pot Applesauce Recipe
Tools
- Instant Pot (or pressure cooker)
- Immersion Blender (or potato masher)
- Bowls
- Ladle
- Strainer
Tools for Canning
- Water-bath canner with canning rack
- Pint Jars
- Canning lids and rings
- Jar lifter, funnel, & bubble-popping spatula
- Clean towel
Ingredients
- 10 Pounds Apples, peeled and cored
- ½ cup Water or Apple Juice (just enough to prevent burning)
- 2 Tablespoons Lemon Juice
- Optional: pinch of salt, cinnamon, sweetener (brown sugar, maple syrup, honey, to taste)
Notes
- Makes approx. 8 Pints
- This recipe requires you to cook it in two batches; if you are short on apples or time, or have a smaller pressure cooker, you can half the recipe for only one batch (half batch will make about 4 pints)
- 10 pounds of apples is the weight after apples have been peeled and cored
- If you do add sugar to your applesauce, start with a tablespoon and taste after each addition.
- If you use peels and cores to make your applesauce, just be aware that your applesauce will need to be pushed through a sieve so that none of the seeds and skins stay in the sauce.
- We strain the juice after cooking the apples for a thicker applesauce
Step-by-Step Homemade Applesauce Recipe
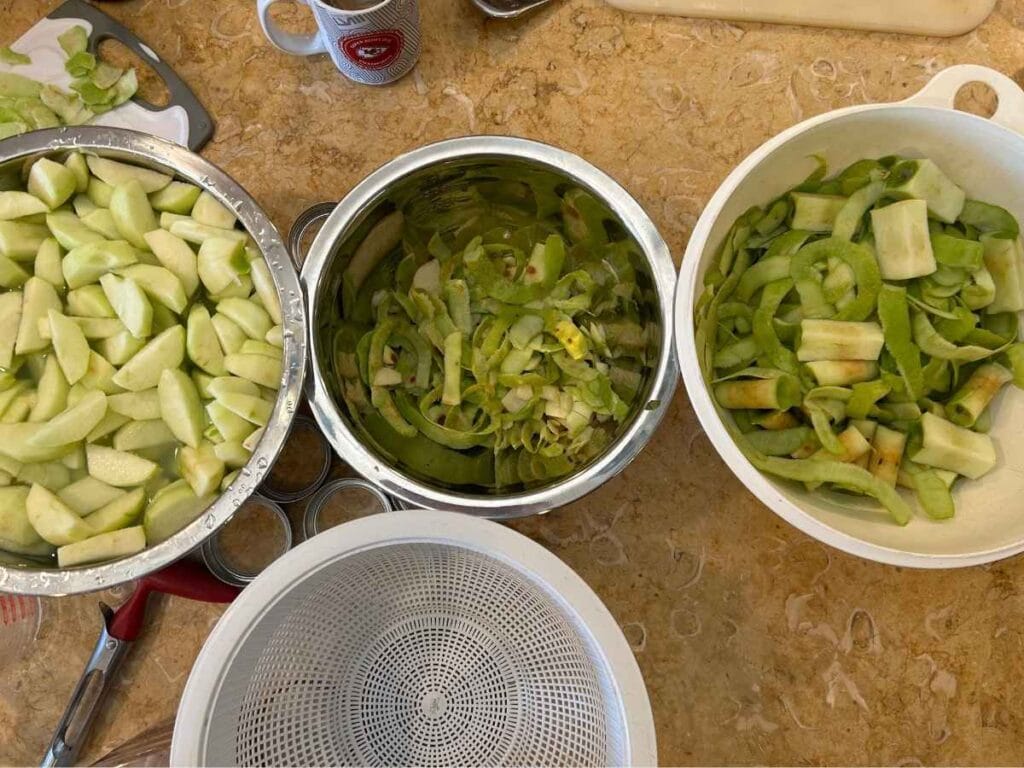
Prep Apples: Wash, peel, and core your apples. We chop each apple into about 4 pieces to fit better in the Instant Pot. Place in a bowl of cool water with a splash of lemon juice to prevent browning while you work.
Cook Apples: Place about 5 pounds of prepped apples into the Instant Pot (try not to go above the max fill line; you will do the next 5 pounds after you have strained this one) and add water. Lock the lid, seal, and cook on High Pressure for 12 minutes. Then let it naturally release for 20 minutes – do not try to do a quick release as applesauce will spew out the top (ask me how I know).
Strain Apples: Place cooked apples in a strainer over a pan or funneled jar to catch the juice. Don’t push the apples through, but strain just until it stops running. Place the strained apples into a covered bowl and set aside.
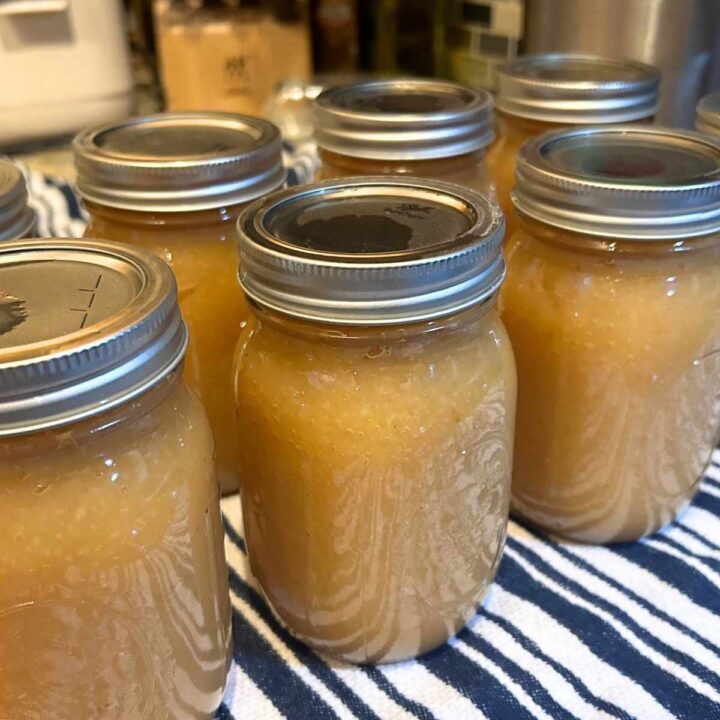
Repeat all steps for the other five pounds of apples, then combine the two batches. Fill a jar with the apple juice and either can or sip away!
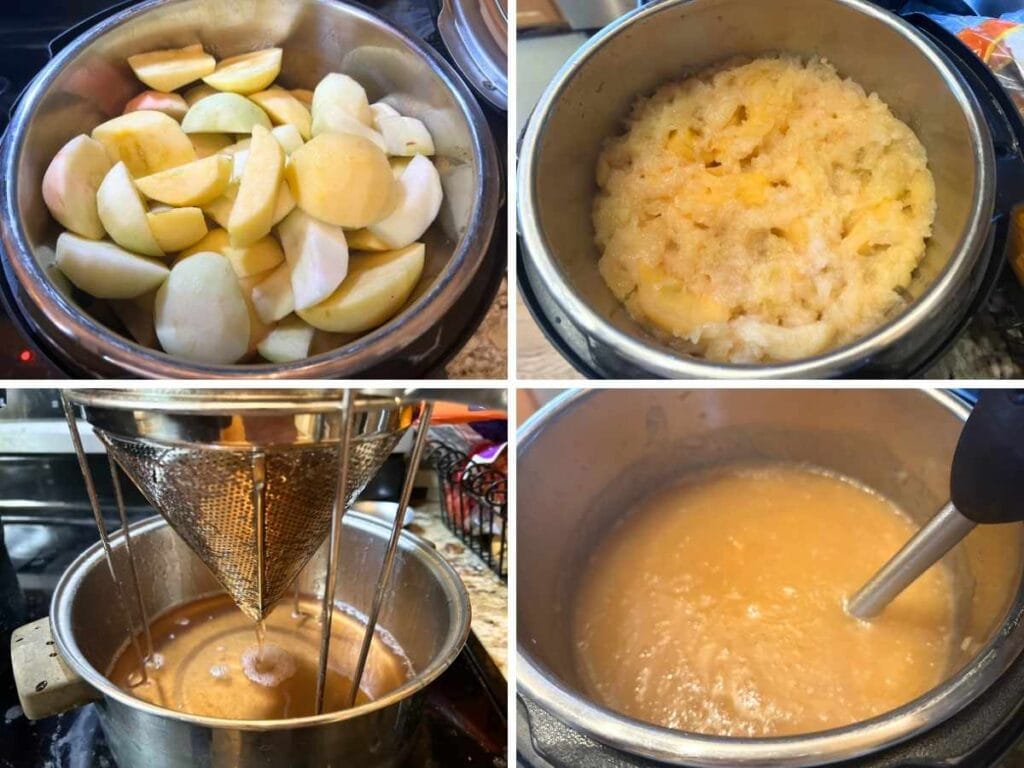
Mash or Blend: After both batches are combined, use an immersion blender for a fast and super smooth sauce, or you can also use a potato masher.
Add Sweetener and Spices: If desired, add in your sweetener of choice, a little at a time, tasting after each addition. You can also add any spices at this time. We recommend you start with 1 tablespoon of cinnamon, adding and adjusting to taste.
Add Lemon Juice: Add 2 tablespoons of lemon juice and stir well.
Store: Store applesauce in an airtight container in the fridge for up to a week or proceed to canning. You can also freeze by pouring cooled applesauce into freezer-safe containers. Just be sure to leave a little room for expansion. Freeze up to 6 months.
Canning Instant Pot Applesauce
Canning Prep: While the second batch of apples is naturally releasing, sanitize your jars, lids, bands, and tools. Keep jars warm in the simmering water-bath to prevent any temperature shock.
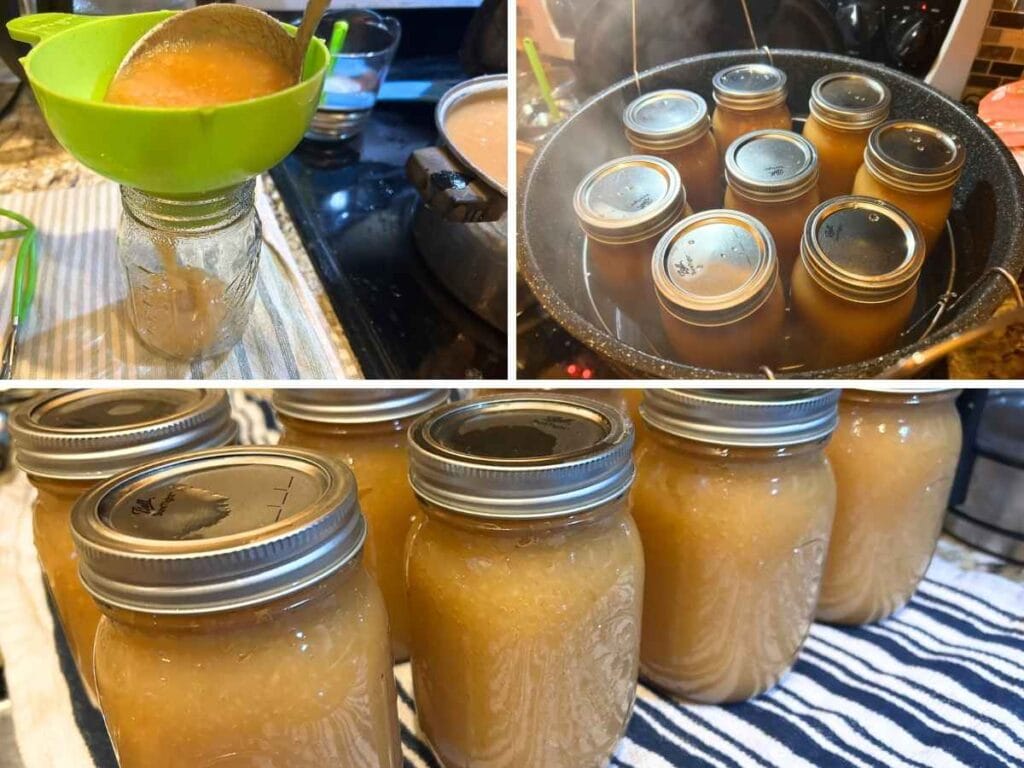
Processing: Ladle hot applesauce into hot jars, leaving ½-inch headspace. Pop any bubbles with a spatula. Wipe rims clean with vinegar, seal with lids and bands just to fingertip tight. We also process the jar(s) of strained apple juice at the same time as the applesauce if you have room in your canner.
Process pints at a full rolling boil for 20 minutes, quarts for 25 minutes (adjust time if you’re above 1,000 ft elevation).
After time’s up, turn off the heat, remove the lid, and wait 5 minutes before lifting jars out carefully and setting on a towel to cool completely for 24 hours.
Variations on Your Own Applesauce
We prefer unsweetened plain applesauce, but you can always add in some cinnamon for a spiced flavor. Or try pumpkin pie spice, a chai blend, ginger, or even orange zest. Customize your applesauce with warm fall spices like ginger, cloves, or cardamom for an extra cozy taste.
For a little bit more texture, mash only some of the apples—blend half, and keep the rest chunky for little bites of apple goodness. Add berries (like raspberries or strawberries) to the apples for a unique flavor twist, or you can even try a pear or peach mixed with apples for a seasonal blend.
For more apple fun, keep cooking the applesauce down, and you’ll have homemade apple butter!
Creative Ways to Use Homemade Applesauce
Instant Pot applesauce is a great healthy snack on its own or mixed with yogurt or granola, but you can also use applesauce as a substitute for oil or butter in baked goods like muffins and cakes.
Try serving it as a topping for pancakes, waffles, or oatmeal, or pair it with roasted pork, chicken, or as a side for savory dishes.
That’s it—No fuss, no crazy—just sweet, simple, homemade goodness. Now grab that Instant Pot and some apples and enjoy!
Easy Instant Pot Applesauce and Canning Recipe
Try this homemade Instant Pot applesauce recipe that’s simple, customizable, and easy to can so you can enjoy it all year long.
Ingredients
- 10 Pounds Apples, peeled and cored
- ½ cup Water or Apple Juice (just enough to prevent burning)
- 2 Tablespoons Lemon Juice
- Optional: pinch of salt, cinnamon, sweetener (brown sugar, maple syrup, honey, to taste)
Instructions
- Prep Apples: Wash, peel, and core your apples. We chop each apple into about 4 pieces to fit better in the Instant Pot. Place in a bowl of cool water with a splash of lemon juice to prevent browning while you work.
- Cook Apples: Place about 5 pounds of prepped apples into the Instant Pot (try not to go above the max fill line; you will do the next 5 pounds after you have strained this one) and add water. Lock the lid, seal, and cook on High Pressure for 12 minutes. Then let it naturally release for 20 minutes - do not try to do a quick release as applesauce will spew out the top (ask me how I know).
- Strain Apples: Place cooked apples in a strainer over a pan or funneled jar to catch the juice. Don't push the apples through, but strain just until it stops running. Place the strained apples into a covered bowl and set aside.
- Repeat all steps for the other five pounds of apples, then combine the two batches. Fill a jar with the apple juice and either can or sip away!
- Mash or Blend: Use an immersion blender for a fast and super smooth sauce, or you can also use a potato masher.
- Add Sweetener and Spices: If desired, add in your sweetener of choice, a little at a time, tasting after each addition. You can also add any spices at this time. We recommend you start with 1 tablespoon of cinnamon, adding and adjusting to taste.
- Add Lemon Juice: Add 2 tablespoons of lemon juice and stir well.
- Store: Store applesauce in an airtight container in the fridge for up to a week or proceed to canning. You can also freeze by pouring cooled applesauce into freezer-safe containers. Just be sure to leave a little room for expansion. Freeze up to 6 months.
- Canning Prep: While the second batch of apples is naturally releasing, sanitize your jars, lids, bands, and tools. Keep jars warm in the simmering water bath to prevent any temperature shock.
- Processing: Ladle hot applesauce into hot jars, leaving ½-inch headspace. Pop any bubbles with a spatula. Wipe rims clean with vinegar, seal with lids and bands just to fingertip tight. We also process the jar(s) of strained apple juice at the same time as the applesauce if you have room in your canner.
- Process pints at a full rolling boil for 20 minutes, quarts for 25 minutes (adjust time if you’re above 1,000 ft elevation).
- After time’s up, turn off the heat, remove the lid, and wait 5 minutes before lifting jars out carefully and setting them on a towel to cool completely for 24 hours.
Canning Instant Pot Applesauce
Notes
- Makes approx. 8 Pints
- This recipe requires you to cook it in two batches; if you are short on apples or time, or have a smaller pressure cooker, you can half the recipe for only one batch (half batch will make about 4 pints)
- 10 pounds of apples is the weight after apples have been peeled and cored
- If you do add sugar to your applesauce, start with a tablespoon and taste after each addition.
- If you use peels and cores to make your applesauce, just be aware that your applesauce will need to be pushed through a sieve so that none of the seeds and skins stay in the sauce.
- We strain the juice after cooking the apples for a thicker applesauce
Nutrition Information
Yield 32 Serving Size 1/4 pintAmount Per Serving Calories 75Total Fat 0gSaturated Fat 0gUnsaturated Fat 0gSodium 2mgCarbohydrates 20gFiber 3gSugar 15gProtein 0g
*This has not been evaluated by the FDA. Nutrition Label may not be accurate. This label has been automatically pulled, and ingredients may not be categorized correctly.
FAQS
About 7–10 days when chilled promptly—just like other homemade recipes.
We prefer to peel so we get an ultra-smooth texture and no hard bits.
No sugar needed—it’s a flavor preference. Safe canning depends on acidity, headspace, and process time, not sweetness.
If you’re above 1,000 ft, bump processing times by 5-10 min or increase canner pressure slightly. Always look up safe canning practices and guidelines, as we are not professionals.


I absolutely love this! Anything that makes canning and preserving easier is a win in my book. And applesauce made in the Instant Pot is such a brilliant, time-saving idea. This looks like the perfect way to enjoy fall apples all year long!